Are you ready for the weekend? It is suppose to be gorgeous weather this weekend and there are lot of fun activities in the area for the Labor Day weekend. I am not sure how I should spend my weekend.
Today I have a tutorial for you. It is how I create a brayered background. I'll warn you up front that this is a pretty long post with a lot of pictures. I wanted to make sure to have a picture for each step I do. Are you ready?
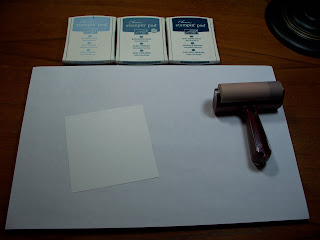 I start out with a smooth piece of cardstock, either SU's Whisper White or Gina K's Pure Luxury. The piece above is 5x5. For this card, I am using 3 shades of blue ink. Bashful Blue, Buckaroo Blue and Not Quite Navy. Notice how I have my brayer sitting. Setting with the roller side down or storing it with the roller side down will eventually leave a flat spot on the rubber.
 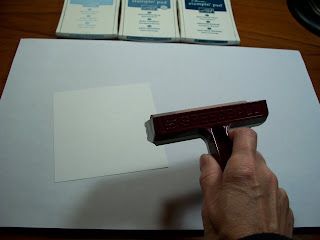 When brayering, you do not want to use any pressure. I always thought I needed to really push down when I brayered. Not True so I found if i hold the brayer as you see above I have better control on how much pressure I use.
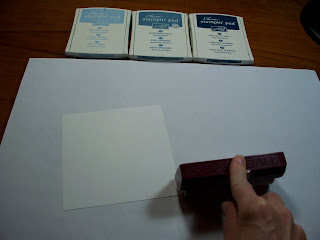 Holding the brayer like you see in this picture, will add pressure to the brayer. It's that pointer finger that is the culprit. This is one of the tricks I learned when I took Michelle Zindorf's brayer workshops. You can tell if you are adding too much pressure if the paper starts to curl, wrinkle or even fold at the corners.
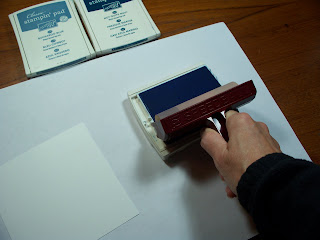 Now when you ink up the brayer you want to add pressure to cover the roller with ink. Another trick I learn is that you do not need to have ink on the whole length of the roller, just ink the roller as long as the ink pad is. Any ink past that length is just being wasted.
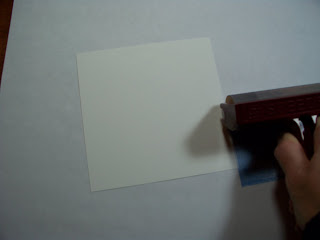 Now we are ready to brayer. Always start off the paper. I will roll the brayer up along side of the paper to begin and bring it on to the paper as I roll down. Continue rolling the brayer back and forth along the cardstock. Do not lift up the brayer until you have rolled it down the cardstock as far as you want the ink to go.
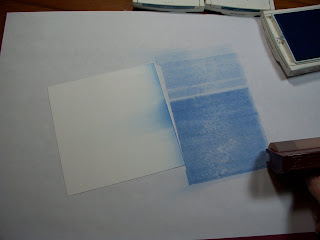 This is what my first 'coat' of ink looks like. You will want to repeat this color until you get the length and the amount of ink you are looking for on the paper.
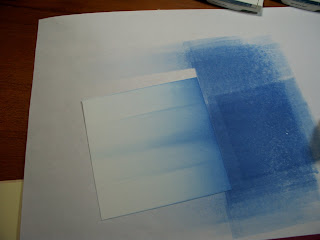 In this picture I have 4 'coats' of Bashful Blue on the paper.
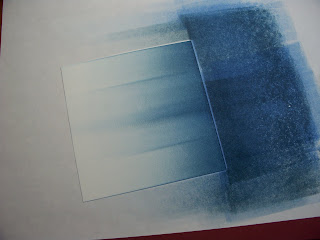 Now I added the next shade, Buckaroo Blue. I inked the brayer the same and started off the cardstock just like I did for the Basheful Blue. I did not bring the Buckaroo Blue down the paper as far as I did the Bashful Blue. You want to be able to see the shading between the colors. Notice how I have the horizontal lines. This is normal. Michelle called them Atmospheric lines. As you are rolling the brayer back and forth, when it goes off the edge of the paper it will remove more ink at the edge so those lines are where there is less ink on the brayer. Does that make sense?
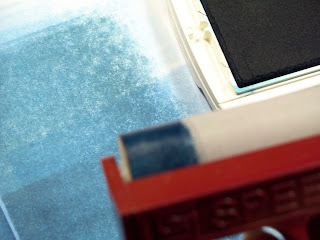 Okay, now we are going to add the darkest color, Not Quite Navy. Because this is pretty dark ink and you do not want to ink up the entire roller of the brayer. I inked up about and inch of the brayer. Remember less is more and you can always add more ink but can not remove it once it is on the paper.
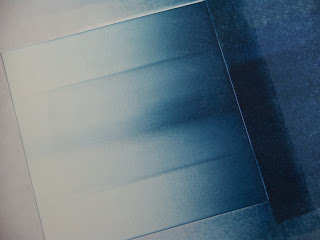 When I go to brayer on the darker color I will roll off once and also start off the paper like we did with the other two colors. The above picture has all three colors brayered on the paper. This is going to be my sky.
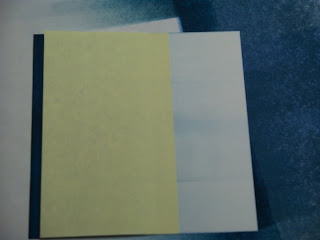 Now I am going to add my water. I do not want to add anymore ink to the sky so I covered it with a post-it note. You will always get a straight horizon if you line the edge of your post-it note up to the edge of your paper.
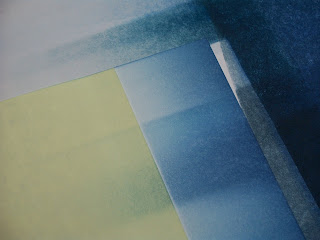 I brayered on the Bashful Blue.
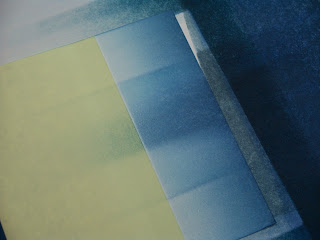 Brayered on the Buckaroo Blue.
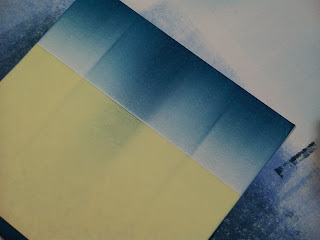 And the Not Quite Navy.
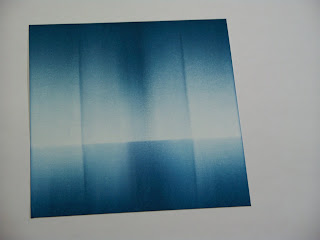 And here is what I have after I remove the post-it note. At this point I will replace my scratch paper because it has alot of ink on it and and wash my hands because I tend to get ink smudges on my projects if I do not.
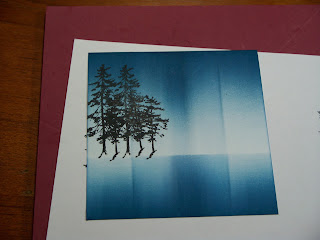 I stamped the a few trees from Gina K's Tree Silhouette stamp set in Tuxedo Black ink. I tried to have the ends of the tree stumps sit on the horizon.
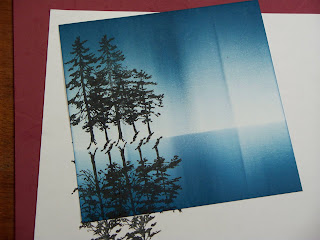 And because I love the reflection look, I stamped the trees again, lining up the trunks and making sure the ends of the trunks sit on the horizon.
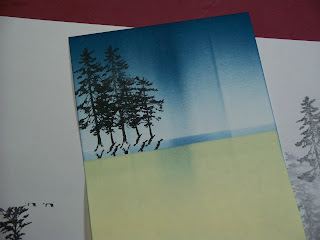 Now I am going to create an island for the trees to sit on. I took my post-it note and stuck about a quarter of an inch below the horizon. You want to make sure that the ends of the 'upside down' trees are showing.
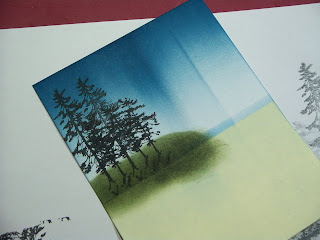 Using Always Artichoke, I sponged ink along the edge of the post-it note and bringing it up to where the branches start. When sponging, I rub in a circular motion and really add pressure.
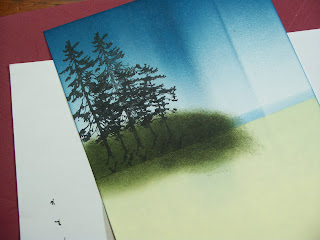 To give the island a more realistic look, I sponged the Artichoke just under the tree branches along the top of the island. I did not rub the ink into the paper but dabbed it with the sponge. This gives it a shrubbery like look don't you think? Do you still see the tree stumps? We want to cover those.
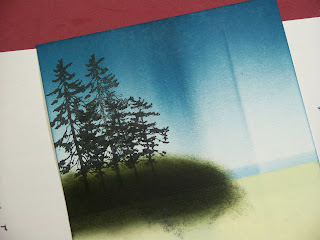 To cover the stumps and add shadow and depth to the island, I sponged tuxedo black (yup black) ink over the Artichoke but not completely covering it.
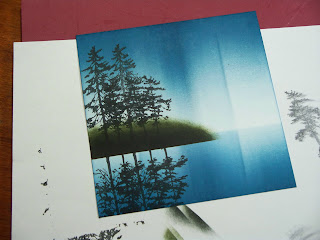 and here is what it looks like after removing the post-it note.
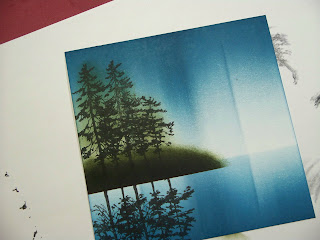 I did not like the look of the trees so I sponged a bit of Artichoke ink over them. Now I am happy with them.
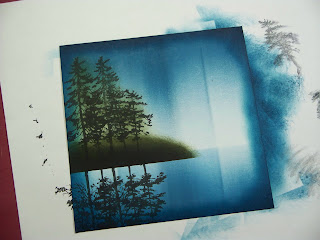 I sponged Not Quite Navy around the edges of the paper.
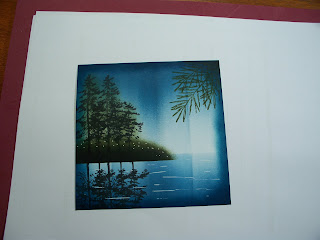 I stamped the pine branch from SU's Peaceful Wishes in the upper corner with Artichoke ink and added lines to the water and I guess flowers to the island with my Signo white gel pen.
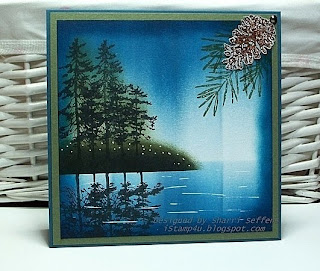 And here is the finished card. I added a pine cone to the pine branches in the corner. The papers for the card are Always Artichoke and Not Quite Navy.
Thank you for sticking with me to the end of the tutorial. I hope it was easy to follow. Let me know if you have any questions on the tutorial, I would happy to answer them!
If you give brayering a try, I would love to see what you do!
Have a great day!
Hugs,

23 comments:
you did a great job! going to try it your way...thanks for sharing the "secrets" of this gorgeous card! will let you know if I end up with one I like :) LOL
Linda
This is great! I love your brayer work. I have tried brayering in the past with no success. I just can't get it right no matter how hard I try!! You do such a fabulous job!!
I have never used a brayer but your tut makes want to....have to buy a brayer first. Your card is just beautiful. A work of art!! Glad I came to your blog.
This is just stunning, Sharri. I haven't done this technique in ages and I'm seeing it more and more in people's cards. Thanks for the inspiration.
Beautiful tutorial. I'm going to give it a try this weekend. Thanks for sharing!!
~ky
bunnynest.blogspot.com
Well you make this sound so easy, got to find my brayer and give it a try your way. I just love your card. It is so beautiful!
Great tutorial and now I need to practice, practice, practice!!
Sharri, thanks for making this awesome tutorial. I will have to do a lot of practicing.
Loved this tutorial! Will definitely be giving this a try soon. I love the scenes you create using the brayer and can see if I can pull it off half as well as you do :o)
Thank you for a fantastic tutorial. I just used my brayer yesterday and you gave some pointers that I will try.
Linda Peterson
WOW, That card is gorgeous. I need to get a brayer and try that technique. Thanks.
This is a wonderful tutorial, Sharri! I need to try this. I want to get one of those Tim Holtz 15x18 mats that clean up easy cause I know how messy I will get with this! Lol! Maybe we can get Gina to stock them. (wink wink)
This is absolutely gorgeous Sharri!! I have never been able to figure out how to stamp a 'reflection' like that.. How were you able to get the reverse image? Very cool!
Fantastic!!!!!
Thank you soo much for your tutorial!!!!!
Thank you for taking the time to do this tutorial...most helpful!
Thanks for reminding me what order this all went together. It's been awhile and much gets lost without practice. You rock!!
Wow~ Sharri, this is great! Thanks for your step by step tutorial. I really appreciate it.
Great tutorial Sharri! And the finished card is stunning. Very classy!
Wow! This card is gorgeous!!
I have never tried this technique. But I can feel I would love to try.
-Anne-
Awesome card and love the tutorial! How fun...beautiful work!
Excellent tutorial! Found you over on splitcoast. your cards are beautiful
This is beautiful! I have a brayer, but I do not use it for any inking. I really want to try this! Thanks for the tutorial.
This look pretty simple. I am going to dust some dust off my brayer and make this card. Thanks for the tutorial.
Post a Comment